EVERYTHING YOU NEED TO KNOW ABOUT INSTALLING AND SETTING UP YOUR WEBCAM
For both private as well as work related interactions, webcams have become increasingly vital. Video conferencing is being used by more individuals than ever before to replace audio-only calls.
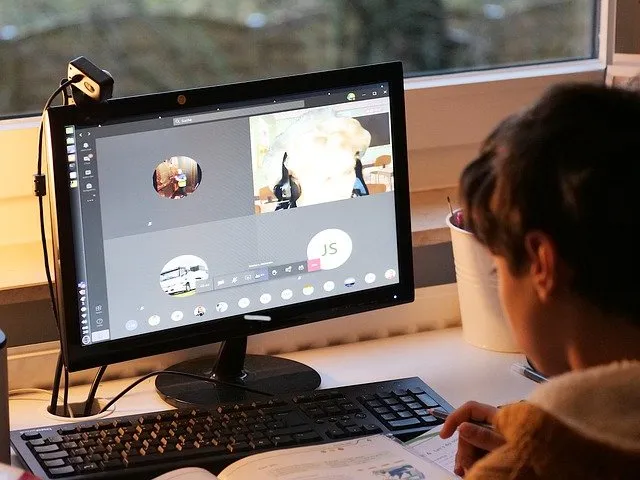
In the light of the global pandemic that the human race is facing, every aspect of life as we know it, has taken a dull stop. With the inevitable popularization of “Work from Home” culture, video conferencing and hence webcams have become an integral element of home office setup, be it for working professionals or students.
A webcam is a tiny digital video camera that is embedded in a computer or a computer network. It can be either directly integrated internally or indirectly connected.
Webcams come with their own software that must be downloaded on the computer in order for users to record or stream video over the Internet. Webcams may take photos as well as high-definition videos, albeit the video quality is often inferior to that of other camera models.
The webcam isn’t a survival necessity, but without it, the variety of options in the realm of communications is severely limited, ultimately leading to you feeling apprehensive.
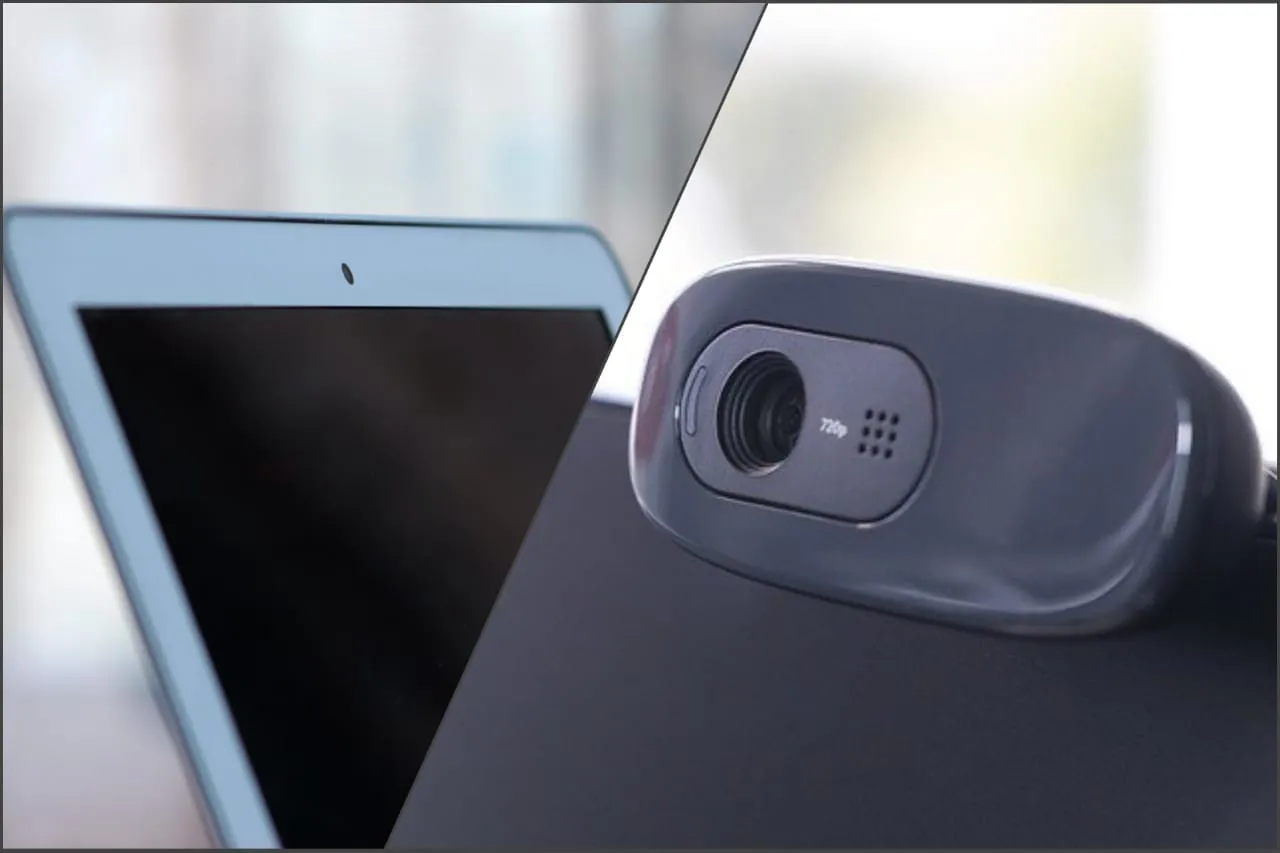
Almost all laptops come with an inbuilt webcam. For desktop computers you will need to set up an external webcam. Sometimes users choose to hook an external webcam to their laptops because the built-in cameras are not always of satisfactory quality.
Assuming that you have chosen a suitable gear for yourself, let us take a look at how to connect and set up a camera to your PC.
Setting up the webcam
Because webcams come in a variety of shapes and sizes, the installation techniques also differ among them vastly. Some devices have special claspers that attach to the thin LCD panel. Some others feature a leg or platform that allows them to be placed on a table or shelf behind or next to your PC.
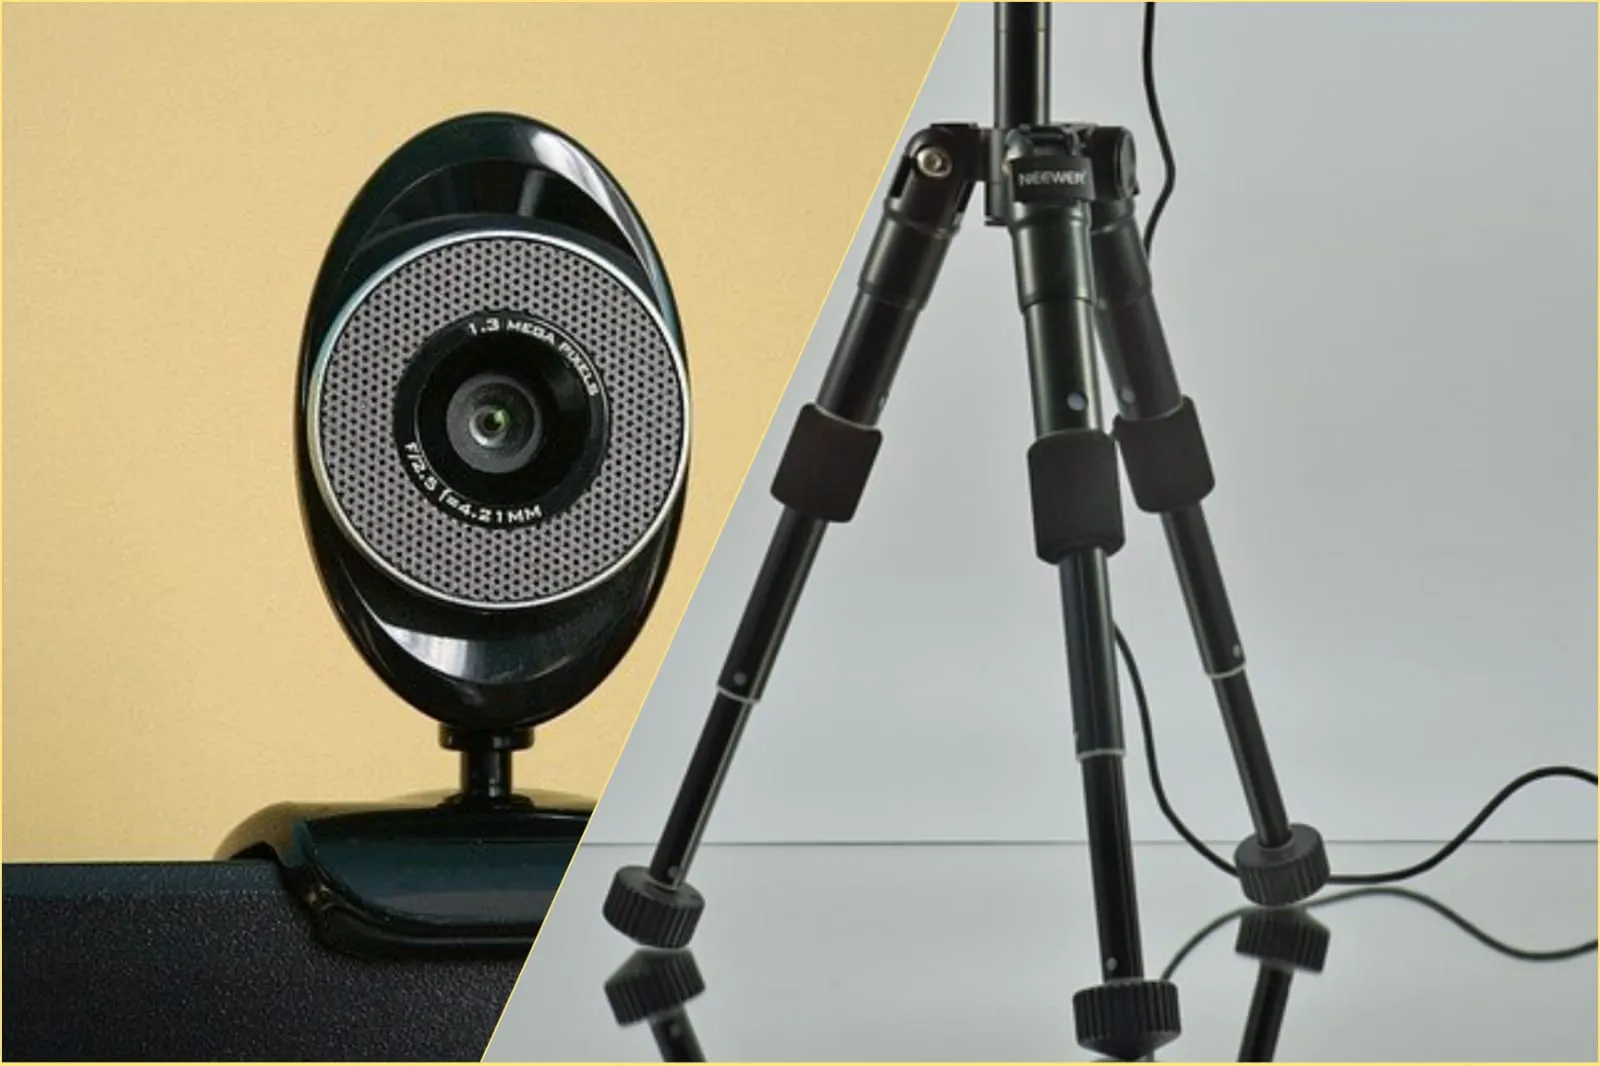
Connecting the webcam
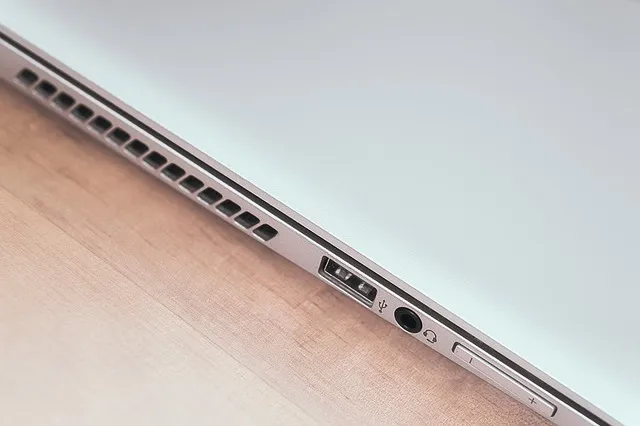
Most cameras come with a USB-port chord, allowing them to be connected through the same port on the system. The USB-slot in the system of a desktop computer can be found on the back or front of the unit. On a laptop it is usually present somewhere along the side of the base depending on the model you are working on. The device needs to be plugged into the socket if it comes with an extra power chord. So that is how the webcam is set up.
Installing the driver
It is important to set up the webcam device in order for the computer to identify it. In order to utilize the webcam normally later, the OS must first recognize it. Here are three different ways to set it up:
The camera driver can be installed by the operating system by looking for it in the database. If this happens, a notification regarding the camera’s successful connection will appear in the bottom right corner of the screen.
If this message does not appear, it means that you will need to install the driver from the disc that came with the equipment. Most webcam equipment come with a CD alongside the main camera gear.
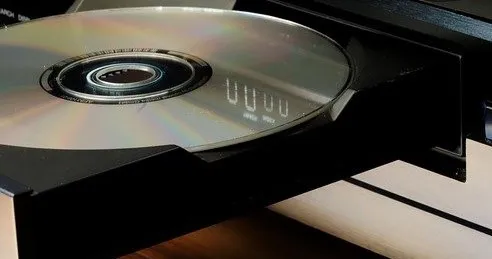
If you bought the camera without the CD, you will need to search and download the driver from the manufacturer’s website, depending on the model number of your gear.
After this setting up is done you can adjust the webcam’s normal settings after attaching it to the computer. Specifications like the image’s quality and size; contrast and brightness ratio; saturation, tone and sharpness and even the playback sound or recording volume.
You can modify the lighting, apply effects to the image, reduce image flickers, and even turn around with the moving object on some special webcam models.
Although the installation processes for different cameras varies, manufacturers strive to create visual programs that make this operation accessible to even the most inexperienced user.

This was everything you need to know for setting up your webcam easily without facing any complications. Hope you will be able to achieve it as well!


