LEARN MORE ABOUT WEBCAM RESOLUTION AND ITS EFFECTS ON YOUR IMAGE AND VIDEO QUALITY
Consumers find video resolutions perplexing enough, but they are even more confusing for content creators. We have cameras that can shoot everything from 720p HD to 6K. When you are trying to figure out which camera to get and what resolution to film at once you have gotten it, all of this variation might be overwhelming.
This article will attempt to deconstruct that quagmire so let’s get started.
What is a Resolution and Aspect Ratio and what do they mean?
Let us start by defining “resolution” in its broadest sense. Every digital video file has specific dimensions, which are expressed in pixels. When you see anything like “1920 X 1080” or “1080p,” it refers to the image’s dimensions. It is 1920 pixels wide by 1080 pixels tall in this example.
Then there is the subject of aspect ratio. The majority of television content, along with much of what you view online, is in the 16:9 aspect ratio.
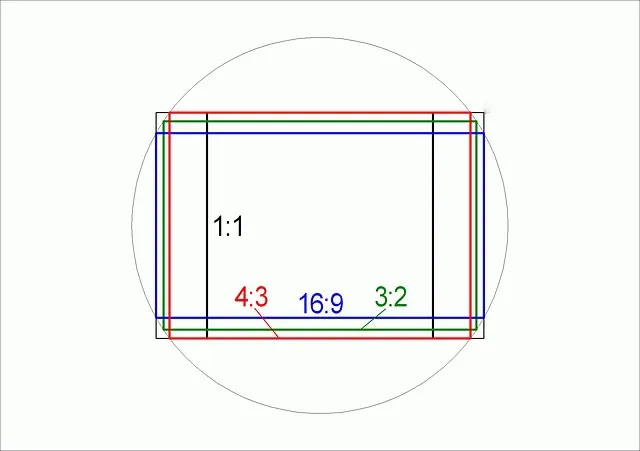
Aspect ratio is nothing but the ratio of number of horizontal pixels to that of vertical pixels in an image. When you divide 1920 by 1080, you get 16/9 as the result, which is its ratio of horizontal pixels to vertical pixels. This aspect ratio is also known as “Widescreen” and is the most prevalent aspect ratio on television and the internet right now.
Feature films, on the other hand, are a completely different situation, as we will see shortly.
Resolutions in High Definition
Let us start with an explanation of what the term HD signifies. Fortunately, this one is fairly simple.
The term HD stands for high definition and refers to only two resolutions: 1920 x 1080 pixels and 1280 x 720 pixels. The aspect ratio is 16:9 in both these scenarios.
This was a significant advance from SD, or Standard Definition, which had a resolution of 640 × 480 pixels and a 4:3 aspect ratio.
Above High Definition
Things become a little complicated when we start talking about resolutions higher than HD.
se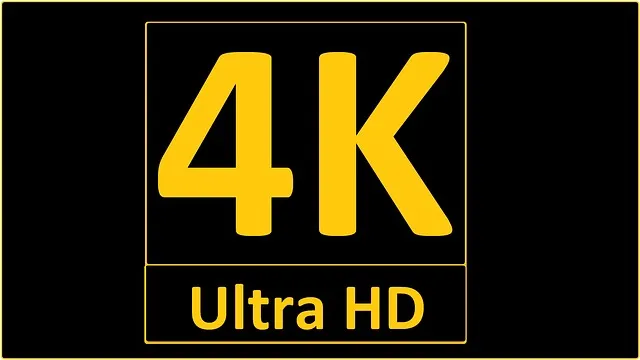
The new trend in the world of video making these days is 4K. However, it is still a little-known fact that most of the gear used to film the largescale Hollywood blockbusters do not shoot in 4K. Rather, they shoot in 2K, which has a resolution of 2048 pixels wide.
4K
The term 4K is being thrown around by a lot of TV and camera makers as the next big thing. From small and low-cost cameras like the Panasonic G7 to considerably larger systems like the Sony FS7, all support 4K filming as a feature.
What is not clear is exactly what this term 4K refers to.
4K technically refers to a video sequence with a frame width of at least 4000 pixels. Some people will be confused by this right away, because we are used to seeing resolution described in terms of vertical pixel account such as 1080p, 720p, etc. However, as you get into the zone of UHD and 4K, we start expressing resolution in terms of horizontal pixel count.

In this context, we have the so-called 4K television standard, which falls barely under of being 4000 pixels wide. At 3840 x 2160 pixels the aspect ratio is 16:9, which is the same as on HD televisions. Of course, 4K sounds a lot fancier and techy than UHD, which is why manufacturers use it on their packaging.
YouTube was the first streaming site to enable UHD video, and they refer to it as 2160p, which is technically more correct than 4K and follows the same naming convention as HD quality.
How can you check your webcam resolution?
- Open your web browser and go to testwebcams.com.
- In the pop-up permission box that appears at the top of your window, click on Allow.
- Immediately, the video stream captured by your webcam will appear in real time on the website’s landing page.
-
On the top right corner of the webpage select Tools.

- In the dropdown menu look for Webcam Resolution.
-
Now, click on the blue Check Webcam Resolution tab.
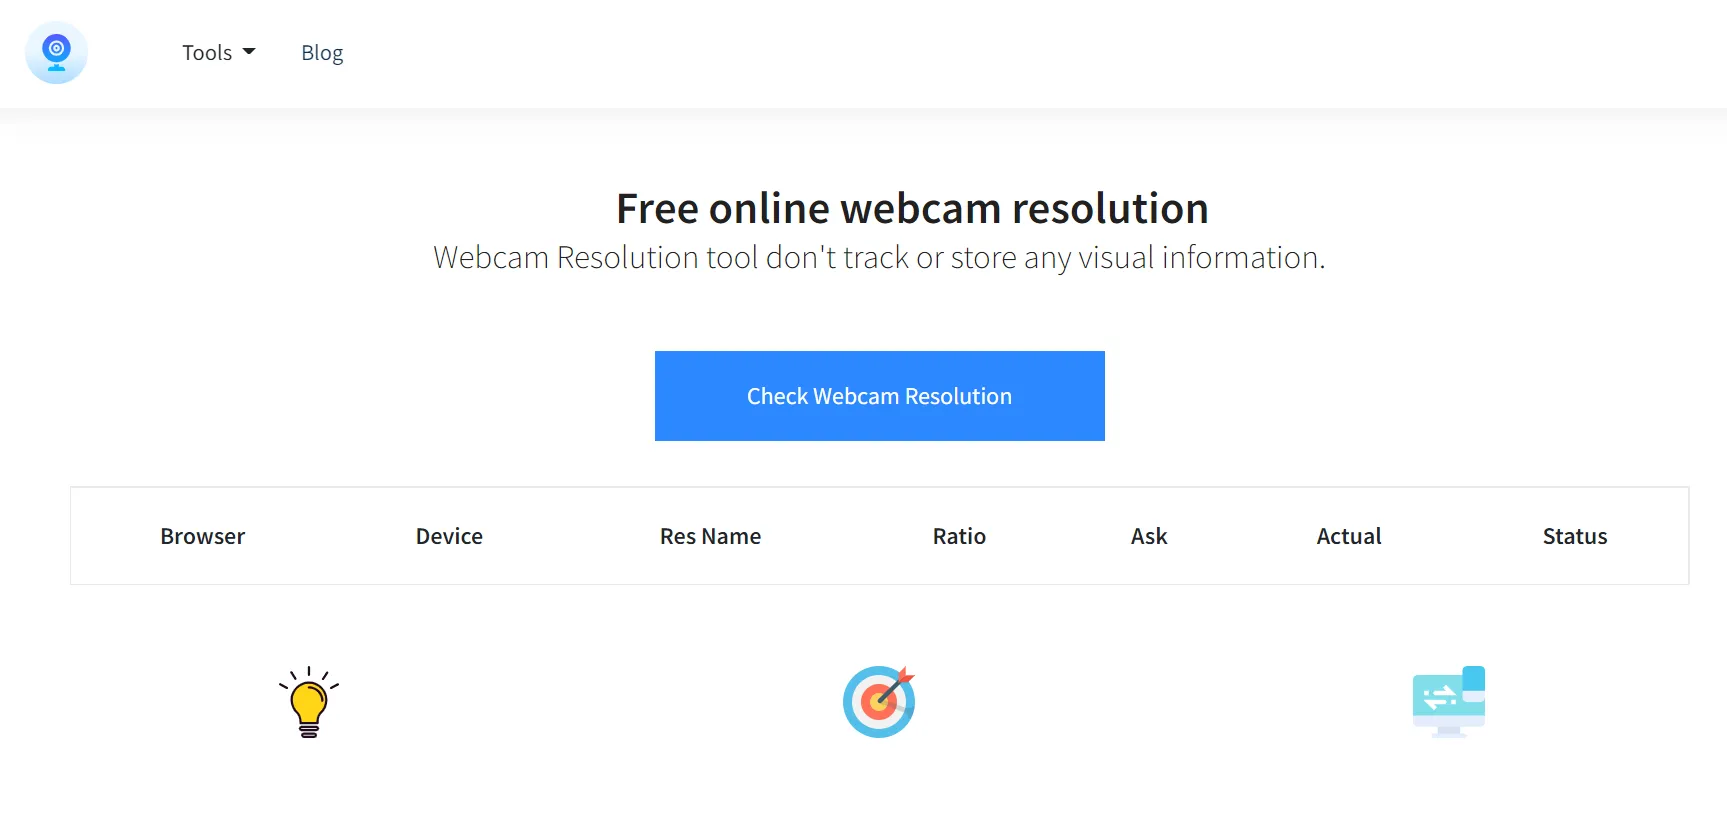
- Scroll down to find detailed information on the image resolutions that can be captured by your webcam.
How can you amplify the quality of image produced by your webcam?
You have come to the right place if your webcam footage is dark, grainy, or just not very sharp. You do not have to go out and get a new $200 equipment right away.
Use Look up Tables (LUTs)
Look Up Tables (LUTs) can be used to color grade your image. Color grading is the process of changing the color of an entire image, somewhat like a filter.
There are several free LUTs available on the internet, but the procedure for using them in your video editing program may differ slightly. You can greatly improve your image by finding the correct ones integrated into your video editor or by downloading independent ones you prefer.

You can manually alter the color temperature or brightness of an image in your video editor of choice even if you do not have LUT presets. This is beneficial if your daylight recording session spans several hours of the day and, as a result, has varied light hues.
Lighting for a Studio
Your webcam will be able to reproduce colors more precisely, create a sharper image, and reduce graininess if you use bright and mild lights. Lighting is the most obvious, yet it is also the most ignored aspect of image quality.
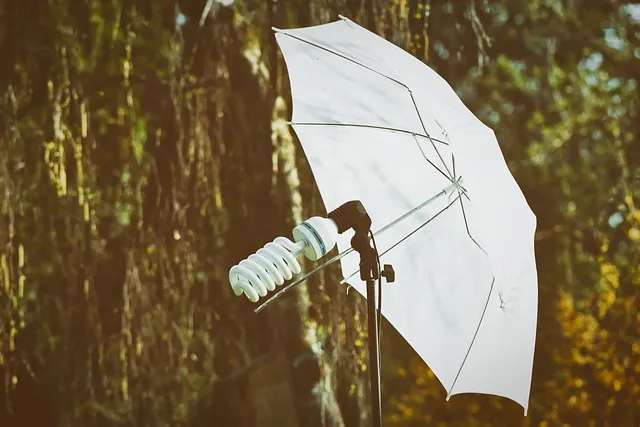
Soft light is the term used to describe light that is well diffused and does not cast sharp shadows or hot spots. Even if you simply have access to a lamp, it will improve the appearance of your film. Make the most of what you have because the rest of these suggestions can be carried out on a shoestring budget.
Natural light
Use the sun to light up your shot. No, artificial light comes nowhere close to the sun’s strong and even light. Plus, it is completely free! You can obtain professional looking video and photos with just your phone if you cannot afford the extra cash for a new lighting system and an overly expensive camera.

Even if you already have pricey lights, webcams benefit immensely from shooting during the day because focused studio lights might cause your subject to be overexposed and the background to be extremely dark.
The sun brightens the remainder of your background, giving your photo a more balanced appearance. Remember that the color temperature and brightness of the sun varies during the day, so if the sun is your main source of light, combining many shootings into one film will result in inconsistent lighting. Fortunately, the first suggestion on this list will help you tackle this problem.
Positioning of lights
Make sure your strongest source of light is directly in front of you, rather than behind or to the sides.
When you put your camera in front of a light source, it can only do one of two things:
- expose for the bright light behind you, which will make you dark, or
- expose for you, which will cause the backdrop to encompass the entire shot in a dazzling spark.
Make sure the light source is aimed towards your face. Hence, if you are going to use the light from the window, for example, face it.

Consider utilizing a second light to brighten your background at night. This allows webcams to properly expose the entire photo without your face shining because it receives more light than everything else. It is not necessary for the backdrop light to be extremely brightly lit; it simply needs to level out the shot.
This was precisely everything you need to know about webcam resolution, aspect ratio, their effects on your video and how you can improve the quality of your videos. Hope this helped you!